I. Introduction
When it comes to creating visually appealing and user-friendly iOS apps, the user interface (UI) plays a crucial role. Enter Xcode Interface Builder, a powerful tool that empowers developers to design and build intuitive UIs for their iOS apps with ease. In this blog post, we will explore the ins and outs of Xcode Interface Builder, its benefits, and how it can streamline your app development process. So, let's dive in!
What is Xcode Interface Builder?
Xcode Interface Builder is a visual design tool integrated within Apple's Xcode IDE (Integrated Development Environment). It provides a canvas where developers can visually design their app's UI, create connections between UI elements and code, and customize various attributes, all without writing a single line of code. This drag-and-drop approach saves developers time and effort, making it an invaluable asset in the iOS app development ecosystem.
Why use Interface Builder?
You might wonder, why use Interface Builder when I can code the UI manually? Well, Interface Builder offers a range of benefits that make it a preferred choice for many developers. First and foremost, it enables a non-technical or design-oriented team member to contribute to the UI design process. With Interface Builder's intuitive interface, designers can collaborate with developers effectively, resulting in a well-designed and functional app.
Moreover, Interface Builder simplifies UI development by automatically generating the underlying code. This reduces the chances of errors and allows developers to focus more on the core app logic. Additionally, the ability to visually preview the UI in real-time makes the design process interactive and iterative.
Benefits of building UIs with Interface Builder
Building UIs with Interface Builder offers several advantages that streamline the app development process. Firstly, it accelerates development time by reducing the need for manual coding. With its drag-and-drop functionality, developers can swiftly design and assemble complex UI layouts, resulting in faster iterations and ultimately, quicker app releases.
Secondly, Interface Builder promotes the separation of concerns. By visually designing the UI separately from the code, developers can focus on writing clean, maintainable code that encapsulates the app's functionality. This separation streamlines teamwork between designers and developers, as both can work on their respective areas of expertise without interfering with each other's workflows.
Lastly, Interface Builder empowers developers to create responsive and adaptive UIs through Auto Layout. With Auto Layout, UI elements intelligently adjust their size and position based on the available screen space. This ensures that the app's UI looks great on different devices, including iPhones and iPads with varying screen sizes.
II. Getting Started with Interface Builder

Now that we understand the significance of Interface Builder, let's explore how to get started with this powerful tool.
Creating a new iOS project in Xcode
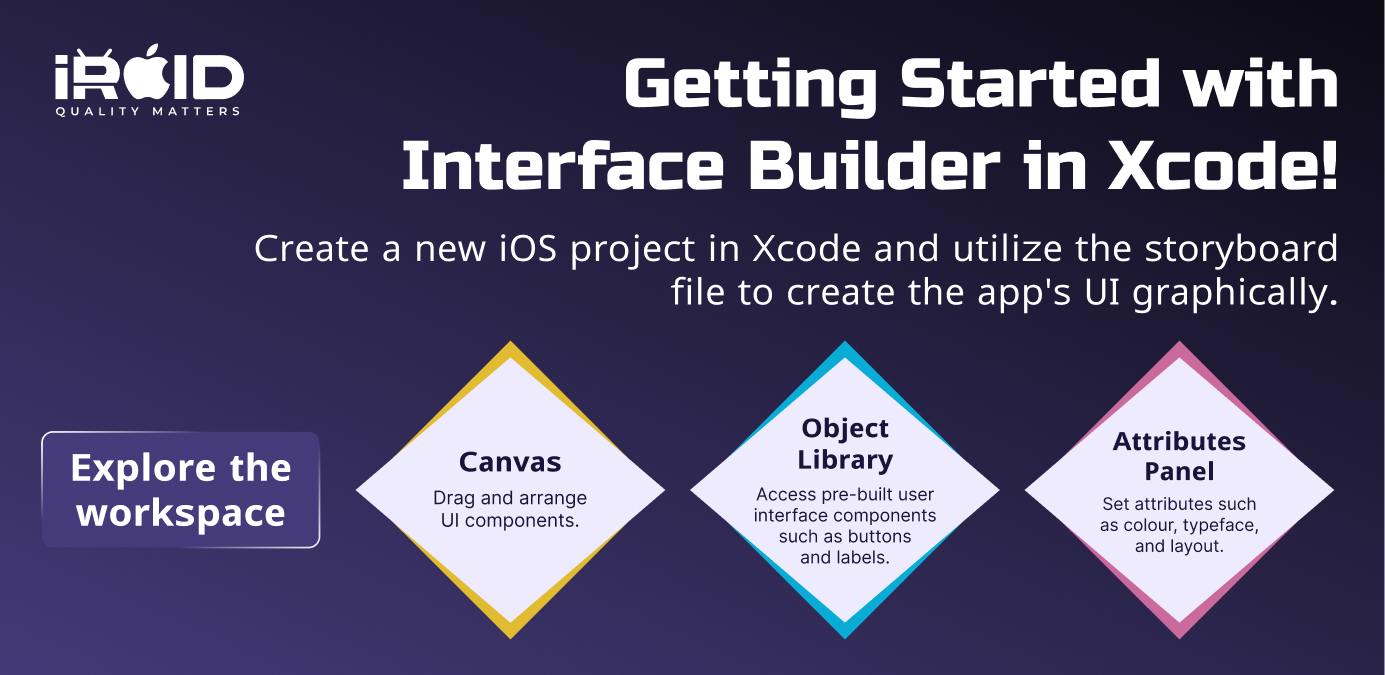
To begin using Interface Builder, you'll need an iOS project within Xcode. Once you create a new project, Xcode will generate a storyboard file (.storyboard) where you can start designing your app's UI. Storyboards allow you to manage multiple scenes or screens within your app, providing a visual representation of the app's flow.
Understanding the Interface Builder Workspace
The Interface Builder workspace consists of several key components that enable you to design dynamic UIs:
-
Canvas: The canvas serves as your design area, where you can visually lay out and arrange UI elements.
-
Object Library: The Object Library contains a vast collection of pre-built UI elements, including labels, buttons, text fields, and more. You can drag and drop these elements onto the canvas to build your app's UI.
-
Attributes Panel: The Attributes Panel allows you to customize the appearance and behaviour of selected UI elements. It gives you control over properties like colour, font, alignment, and more.
Exploring the Object Library and Attributes Panel
The Object Library in Interface Builder is a treasure trove of UI elements that you can use to bring your app's UI to life. From simple buttons and labels to complex collection views and tab bars, you'll find everything you need to create a visually appealing and functional UI.
Once you've placed UI elements on the canvas, you can customize their properties using the Attributes Panel. Here, you can tweak the appearance, layout, and behaviour of the selected UI elements, allowing you to fine-tune every aspect of your UI design.
III. Building Your UI with Drag and Drop
With Xcode Interface Builder, designing your app's UI becomes a breeze thanks to its intuitive drag-and-drop functionality.
Adding common UI elements
Whether you want to add labels, buttons, or text fields to your app's UI, Interface Builder has got you covered. Simply navigate to the Object Library, search for the desired UI element, and drag it onto the canvas. You can then position and resize these elements to create your desired layout.
Arranging and resizing elements on the canvas
To achieve a visually pleasing UI, Interface Builder allows you to arrange and resize UI elements on the canvas seamlessly. You can use alignment guides and constraints to ensure that different UI elements align properly, creating a polished and professional appearance.
Grouping and layering elements for organization
When designing complex UIs, it's essential to keep things organized. Interface Builder lets you group UI elements together, making it easier to manipulate them as a single unit. Additionally, you can layer elements on top of each other to create visually appealing effects or prioritize their visibility.
IV. Crafting Intuitive Designs with Auto Layout
Auto Layout is a powerful feature provided by Interface Builder that enables you to create UI layouts that adapt to different screen sizes and orientations.
Understanding the concept of Auto Layout
In the past, developers had to manually adjust UI elements for each device and orientation, leading to a time-consuming and error-prone process. Auto Layout solves this problem by allowing developers to define relationships and constraints between UI elements, enabling them to create flexible and adaptive layouts.
Adding constraints to control element placement and size
Constraints are rules that govern the positioning and size of UI elements. By adding constraints, you define how elements should align, their distance from other elements, and their size relative to each other or the screen. Interface Builder provides a user-friendly interface for adding and adjusting constraints, making it easy to create complex UI layouts.
Creating dynamic layouts that adapt to different screen sizes
With Auto Layout, Interface Builder empowers you to build UIs that respond intelligently to different screen sizes. By defining constraints that adapt to various device sizes, your app will provide a consistent and pleasing user experience across different iPhones and iPads.
V. Connecting UI Elements to Swift Code

Building the UI is just one part of the puzzle; connecting it to your Swift code is equally important.
Setting outlets and actions for interacting with UI elements
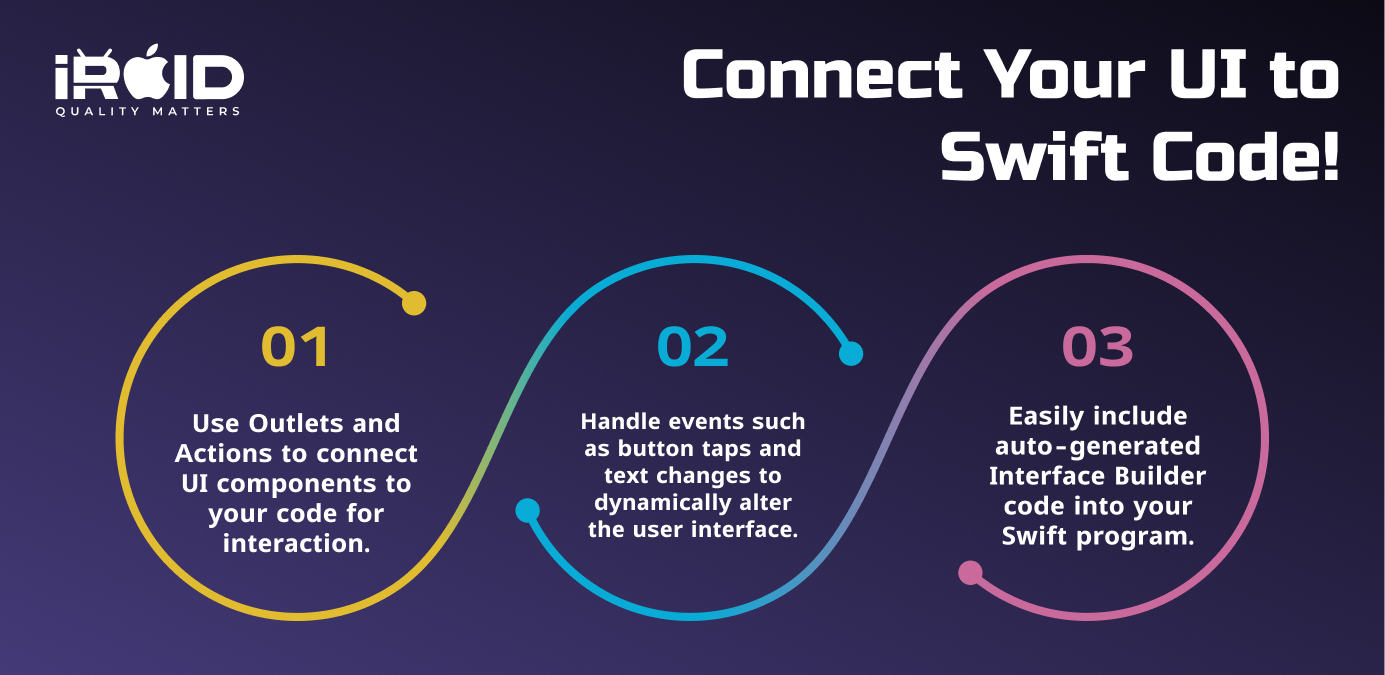
Outlets and actions are how you establish the connection between your UI elements and the underlying Swift code. Outlets enable you to access and modify the properties of UI elements programmatically, while actions allow you to respond to user interactions, such as button taps or text field edits. Interface Builder makes it simple to establish these connections by using the Assistant Editor, which displays both the UI designer and the code side by side.
Handling user events and updating the UI
With the connections established between UI elements and Swift code, you can now handle user events and update the UI accordingly. You might, for example, change the text of a label when a button is pressed or display an alert when a specific condition is met. Interface Builder allows you to define these behaviours visually, keeping the logic separate from the UI design.
Integrating Interface Builder code with your Swift program
Interface Builder generates code for your UI elements automatically, which you can seamlessly integrate with the rest of your Swift program. By leveraging these autogenerated code snippets, you can access your UI elements programmatically, update their properties, and respond to user interaction. This integration simplifies the development process and allows for faster iterations.
VI. Advanced Techniques and Best Practices
Now that you have a solid foundation in Xcode Interface Builder, let's explore some advanced techniques and best practices that will take your UI design skills to the next level.
Using storyboards for managing multiple scenes
As your app becomes more complex, managing multiple scenes or screens can become challenging. Storyboards in Interface Builder alleviate this challenge by providing a visual representation of your app's navigation flow. With storyboards, you can seamlessly link scenes together, define transitions, and ensure a smooth user experience.
Implementing custom views and reusable components
Interface Builder allows you to create and reuse custom views, making your UI design more modular and maintainable. By encapsulating common UI elements and behaviours into custom views, you can easily incorporate them into multiple scenes or even share them across different projects. This approach promotes code reusability, reduces duplication, and improves overall development efficiency.
Accessibility Considerations for Inclusive App Design
Creating inclusive apps is essential in today's digital landscape. Interface Builder offers invaluable accessibility features that facilitate the design of accessible user interfaces. By utilizing features like accessibility labels and traits, you can ensure that your app is accessible to all users, regardless of any disabilities they may have. Designing with accessibility in mind not only benefits a wider user base but also leads to a better overall user experience.
VII. Conclusion
In conclusion, Xcode Interface Builder stands as a cornerstone tool for crafting visually appealing and intuitive iOS apps, streamlining the development process with its drag-and-drop functionality, Auto Layout for responsive designs, and seamless integration with Swift code. By leveraging its capabilities, developers can focus on building robust app logic while ensuring a polished user experience across devices. At iRoid Solutions, we specialize in creating exceptional iOS apps tailored to your needs, utilizing tools like Xcode Interface Builder to deliver outstanding results. Ready to bring your app idea to life? Contact us at business@iroidsolutions.in or +91 90238 68898 and let’s build something extraordinary together!
Blog Related FAQs:
Xcode Interface Builder is a visual design tool integrated within Apple’s Xcode IDE that allows developers to create and design iOS app user interfaces without writing extensive code. It features a drag-and-drop interface for building intuitive and visually appealing UIs.
Interface Builder simplifies the UI development process by reducing the need for manual coding. It enables real-time visual previews, promotes collaboration between developers and designers, and automatically generates clean and error-free code.
Auto Layout is a feature in Interface Builder that allows you to create adaptive and responsive layouts. It ensures that your UI elements adjust intelligently to various screen sizes, orientations, and devices like iPhones and iPads.
Yes, Interface Builder makes it easy to connect UI elements to your Swift code through outlets and actions. Outlets allow you to access and modify UI properties programmatically, while actions help respond to user interactions like button taps.
Storyboards provide a visual representation of your app’s flow, enabling you to design multiple scenes, define transitions, and manage the navigation structure seamlessly within a single file.
Interface Builder offers accessibility features like labels, traits, and hints, allowing developers to create inclusive designs that can be used by people with disabilities, improving overall user experience.
Recent Blog Posts
Get in Touch With Us
If you are looking for a solid partner for your projects, send us an email. We'd love to talk to you!


